Why You'll Love It
- - Quick to make, perfect for busy mornings
- - Protein‑packed and filling
- - Earthy chickpeas complement the richness of eggs
- - Minimal cleanup, one‑pan wonder
*"The chickpea fried eggs reminded me of Sunday mornings at my grandma’s house – simple, satisfying, and just right."*
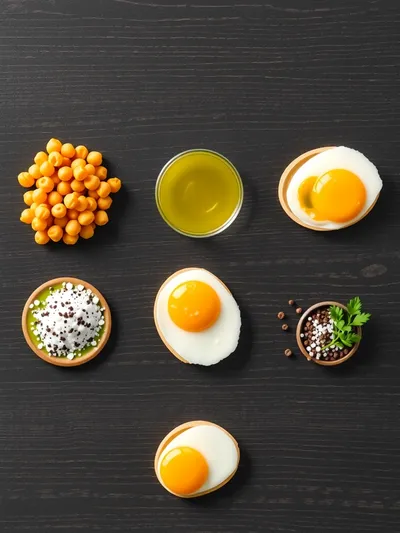
Essential Ingredient Guide
- Canned chickpeas: Rinse and drain well; they provide a buttery base and hold their shape when fried.
- Eggs: Large, fresh eggs give a silky yolk that contrasts the crisp chickpeas.
- Onion: Adds a gentle sweetness; thinly slice for quick caramelization.
- Garlic: A small clove, minced, lifts the aroma without overpowering.
- Lemon juice: A splash at the end brightens the dish and balances the earthiness.
- Olive oil: Use a neutral‑flavored oil for an even fry and subtle richness.
Complete Cooking Process
-
Ingredient Readiness:
Rinse chickpeas, pat dry, and whisk eggs with a pinch of salt and pepper.
-
Flavor Development:
Sauté onion and garlic until fragrant, then add chickpeas to brown.
-
Texture Control:
Create small wells in the chickpeas and crack eggs into each, letting them set gently.
-
Finishing Touches:
Drizzle lemon juice, sprinkle fresh herbs, and let the yolks reach your preferred doneness.
-
Serving Timing:
Serve immediately while the chickpeas are still crisp and the yolks are warm.
- Use a non‑stick skillet for easy release.
- Keep the heat medium‑high to get a quick crust on the chickpeas.
- Cover the pan for the last minute if you like slightly set yolks.
- Add a pinch of smoked paprika for subtle depth.
Pro Tips
Well, those little adjustments can turn an ordinary breakfast into something that feels a bit more special. I’ve found that taking a moment to watch the chickpeas turn golden makes the kitchen feel cozier, and the finished plate looks inviting on the table.
The essence of the dish:
A fun fact or historical angle:
Flavor or sensory focus:
You Must Know
- Pat the chickpeas dry to avoid soggy bites.
- Season while cooking, not just at the end.
- Don’t overcrowd the pan – give each chickpea space to crisp.
Frequently Asked Questions
→ Can I use dried chickpeas?
Yes, soak overnight and cook until tender, then dry well before frying.
→ What if I don’t have onion?
A small shallot or a pinch of leek works nicely; it adds a milder sweetness.
→ How do I keep the yolk runny?
Cook the eggs just until the whites set and the edges are lightly crisp, then remove from heat.
→ Is this recipe gluten‑free?
Absolutely – all ingredients are naturally gluten‑free.
→ Can I add cheese?
A sprinkle of feta or cheddar at the end adds a creamy finish, but keep it optional.
→ What herbs work best?
Fresh parsley, cilantro, or a dash of dill brighten the dish.
Chef's Tips
If you prefer fully set yolks, increase the covered cooking time by another minute.,For extra crunch, toss the chickpeas with a teaspoon of cornmeal before frying.,Serve with toasted sourdough or a simple green salad for a complete breakfast.
Nutrition Facts
per serving
320
Calories
16g
Protein
28g
Carbs
14g
Fat
Taste Profile
Savory with a bright citrus finish
Ingredient Substitutions
Don't have an ingredient? Try these alternatives
Will be softer; reduce cooking time slightly.
Use firm tofu, crumble, and treat like eggs for a vegan option.
Recipe Variations
Try these delicious twists on the original
Spicy Version
Add a pinch of red pepper flakes and a dash of sriracha for a gentle kick.
Mediterranean Style
Stir in crumbled feta, olives, and sun‑dried tomato bits after the eggs set.
Common Mistakes to Avoid
Learn from others' mistakes for perfect results
- Overcrowding the pan, which leads to soggy chickpeas.
- Adding lemon juice too early, it can prevent browning.
- Cooking eggs too long, resulting in hard yolks.
Meal Prep & Storage
Make Ahead Tips
Rinse and dry chickpeas the night before; store them in the fridge for quick use.
Leftover Ideas
Reheat gently in a skillet over low heat, adding a splash of water to keep them moist.
Perfect Pairings
Serve this with...
Cooking Timeline
Prep all ingredients – rinse chickpeas, dice onion, mince garlic.
Sauté onion and garlic, add chickpeas to brown.
Create wells, crack eggs, season, and cover pan.
Finish with lemon juice and herbs, then serve.
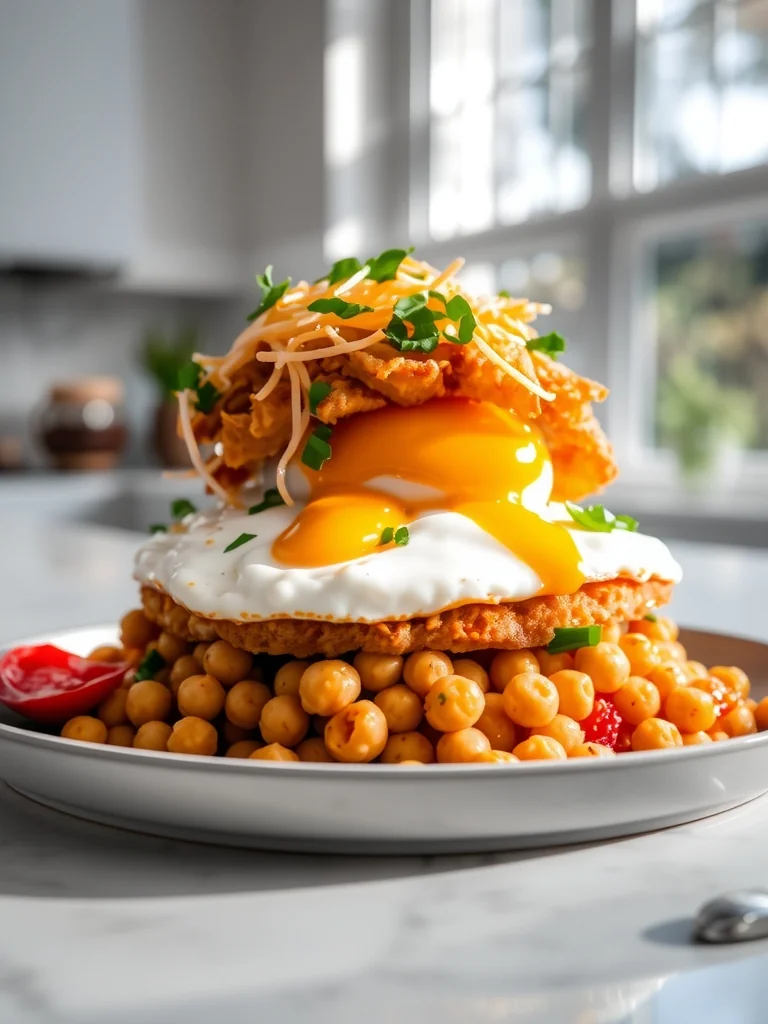
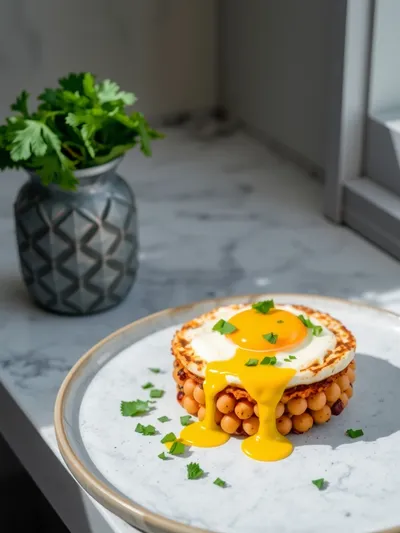
Chickpea Fried Eggs
A simple, protein‑rich breakfast where fluffy chickpeas meet golden fried eggs, offering a comforting start to any day.
Timing
Prep Time
10 Minutes
Cook Time
15 Minutes
Total Time
25 Minutes
Recipe Details
Ingredients
Main Ingredients
- 01 1 (15‑oz) can chickpeas, rinsed and drained
- 02 3 large eggs
- 03 1/4 cup finely diced onion
- 04 1 garlic clove, minced
- 05 2 tbsp olive oil
- 06 Salt and freshly ground black pepper to taste
Finishing Touches
- 01 1 tsp lemon juice
- 02 2 tbsp fresh herbs (parsley or cilantro), chopped
- 03 Optional: pinch of smoked paprika
Instructions
Pat the chickpeas dry with a kitchen towel; this helps them crisp when fried.
Heat olive oil in a non‑stick skillet over medium‑high heat. Add onion and sauté until translucent, about 2 minutes.
Stir in garlic and cook for 30 seconds, then add the chickpeas. Let them cook undisturbed for 3–4 minutes to develop a golden crust.
Create three small wells in the chickpeas and crack an egg into each. Sprinkle with salt, pepper, and smoked paprika if using.
Cover the pan and cook 2–3 minutes, or until whites are set and yolks are still runny. Finish with a drizzle of lemon juice and fresh herbs before serving.
Notes & Tips
- 1 If you prefer fully set yolks, increase the covered cooking time by another minute.
- 2 For extra crunch, toss the chickpeas with a teaspoon of cornmeal before frying.
- 3 Serve with toasted sourdough or a simple green salad for a complete breakfast.
Tools You'll Need
-
Non‑stick skillet
-
Spatula
-
Tongs
-
Kitchen towel
-
Measuring spoons
Must-Know Tips
- Don't overcrowd the pan, Cook in batches if needed to keep chickpeas crisp.
- Let the eggs rest a moment after cooking, Allows juices to settle.
- Taste as you go, Adjust seasoning for salt and pepper.
Professional Secrets
- Pat the chickpeas dry, Ensures even browning.
- Use medium‑high heat for a quick sear, Creates the perfect crust.
- Cover briefly to steam the egg tops, Captures yolk softness.

Recipe by
AmeliaAmelia is a seasoned food blogger and recipe creator at CookDishWorld, where she blends culinary expertise with an unwavering love for sharing delicio ...
Get Delicious Recipes Weekly
Join 25,000+ home cooks getting our best recipes straight to their inbox.
Free forever • No spam • Unsubscribe anytime