Why You'll Love It
- - Ready in under ten minutes, perfect for spur‑of‑the‑moment cravings
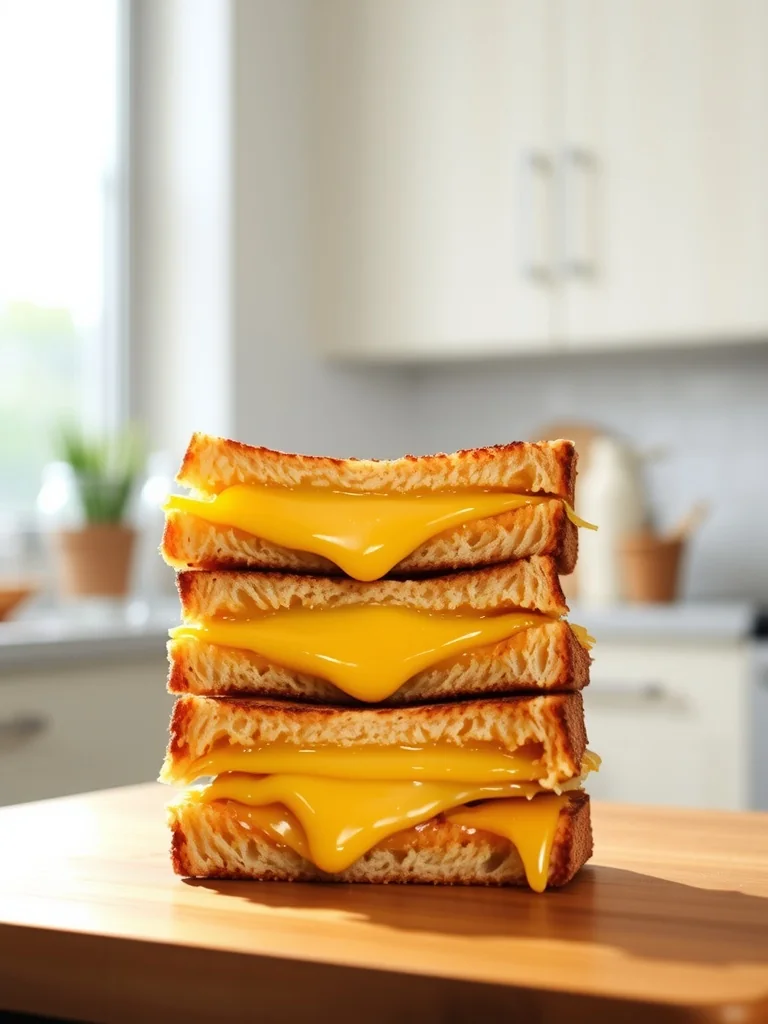
- - Crispy exterior with a gooey, stretchy cheese core
- - Uses pantry staples, no fancy equipment needed
- - Great for kids, adults, and anyone who loves comfort food
“These mini bites were the hit at our brunch—crispy, cheesy, and ready in a flash!”
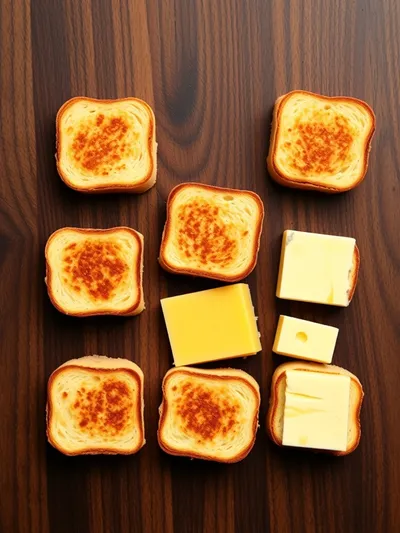
Essential Ingredient Guide
- Bread (soft white or sourdough): Choose a bread with a tender crumb; it will melt into a buttery crust when grilled.
- Sharp cheddar cheese: Sharp cheddar gives a rich flavor and a beautiful melt that pulls apart nicely.
- Butter: Use softened, unsalted butter; it adds flavor and helps achieve that golden crunch.
- Garlic powder: A pinch adds a subtle warmth without overpowering the cheese.
- Lemon zest: A tiny amount brightens the buttery richness with a fresh note.
- Honey (optional): A drizzle can balance the saltiness with a whisper of sweetness.
Complete Cooking Process
-
Ingredient Readiness:
Slice the bread and cheese into bite‑size squares, then let the butter sit at room temperature.
-
Flavor Development:
Spread butter on the bread, sprinkle garlic powder and a hint of lemon zest for depth.
-
Texture Control:
Grill each side until golden brown, ensuring the cheese inside becomes perfectly melty.
-
Finishing Touches:
Optionally drizzle a light touch of honey for a gentle contrast.
-
Serving Timing:
Serve immediately while the cheese stretches and the crust is still warm.
- Use a cast‑iron skillet for even browning.
- Press gently with a spatula to help the cheese melt uniformly.
- Keep butter thinly spread to avoid soggy spots.
Pro Tips
Well, these little tricks keep the bites from getting soggy and make the crust uniformly crisp. I find that a quick press halfway through cooking helps the cheese melt evenly without over‑cooking the bread. It’s a small pause that makes a big difference, especially when you’re feeding a crowd.
The essence of the dish:
A fun fact or historical angle:
Flavor or sensory focus:
You Must Know
- Use room‑temperature butter for even spreading.
- Don’t over‑crowd the pan; space each bite.
- Serve hot for the best melt.
Frequently Asked Questions
→ Can I use different cheeses?
Absolutely—you can blend mozzarella, provolone, or even a touch of pepper jack for extra kick.
→ Do I need a special pan?
A well‑seasoned skillet works best, but a non‑stick pan will do the job.
→ How can I make them gluten‑free?
Swap the bread for a certified gluten‑free variety; the rest of the recipe stays the same.
→ Can I freeze them?
Yes—store baked bites in a single layer on a tray, freeze, then transfer to a bag. Reheat in a skillet.
→ What sides go well with these bites?
A light cucumber salad or a simple tomato soup balances the richness.
→ Are they suitable for kids?
Definitely—just cut the bites smaller and keep the seasoning mild.
Chef's Tips
Press gently with a spatula halfway through cooking for an even melt.,If using a thicker bread, add a minute per side.,For extra crunch, sprinkle a pinch of sea salt on the buttered side before grilling.
Nutrition Facts
per serving
250
Calories
10g
Protein
18g
Carbs
15g
Fat
Taste Profile
Rich, buttery, and satisfyingly cheesy
Ingredient Substitutions
Don't have an ingredient? Try these alternatives
These cheeses melt well and add a nutty flavor.
Choose a sturdy variety to hold the cheese without falling apart.
Recipe Variations
Try these delicious twists on the original
Spicy Version
Add a pinch of cayenne pepper and a dash of hot sauce to the butter for a gentle kick.
Mediterranean Style
Mix feta and olives into the cheese blend and garnish with oregano.
Common Mistakes to Avoid
Learn from others' mistakes for perfect results
- Using cold butter, which can cause soggy spots.
- Overcrowding the pan, leading to steaming instead of browning.
- Leaving the cheese too long, causing it to burn.
Meal Prep & Storage
Make Ahead Tips
Butter the bread slices and store them in a sealed container; assemble the bites up to an hour before cooking for maximum freshness.
Leftover Ideas
Reheat gently in a skillet over low heat, covering briefly to melt the cheese without drying the crust.
Perfect Pairings
Serve this with...
Cooking Timeline
Prepare bread squares, grate cheese, and soften butter.
Butter each piece, add seasonings, and assemble cheese sandwiches.
Grill bites in skillet, flipping once for even color.
Optional honey drizzle and serve while hot.
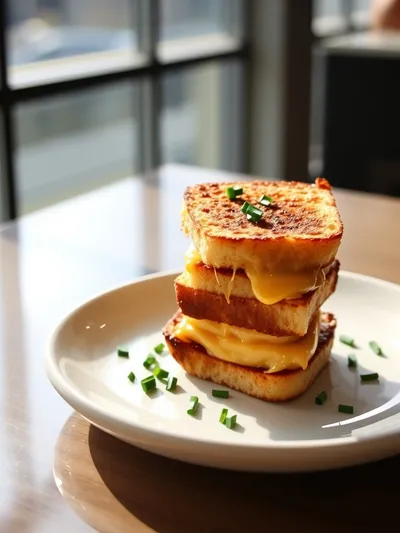
Mini Grilled Cheese Bites – Quick & Easy Snack
Crispy on the outside, buttery golden, with a molten cheese center that stretches with each bite—these mini grilled cheese bites are the perfect quick snack for a lazy afternoon or a breezy brunch.
Timing
Prep Time
10 Minutes
Cook Time
8 Minutes
Total Time
18 Minutes
Recipe Details
Ingredients
Main Ingredients
- 01 1 loaf soft white bread, cut into 1‑inch squares
- 02 2 cups shredded sharp cheddar cheese
- 03 4 tbsp unsalted butter, softened
- 04 1/2 tsp garlic powder
- 05 1/4 tsp lemon zest
- 06 1 tsp honey (optional)
Instructions
Lay out the bread squares on a clean surface and sprinkle each with a pinch of garlic powder and lemon zest.
Spread a thin layer of butter on one side of each bread square.
Place a generous handful of shredded cheddar on half of the squares, then top with the remaining squares, butter‑side up.
Heat a skillet over medium‑high heat; grill the bites for 2‑3 minutes per side until golden and the cheese melts.
If desired, drizzle a tiny amount of honey over the hot bites and serve immediately.
Notes & Tips
- 1 Press gently with a spatula halfway through cooking for an even melt.
- 2 If using a thicker bread, add a minute per side.
- 3 For extra crunch, sprinkle a pinch of sea salt on the buttered side before grilling.
Tools You'll Need
-
Large skillet
-
Spatula
-
Sharp knife
-
Cutting board
-
Measuring spoons
Must-Know Tips
- Don't overcrowd the pan; cook in batches for even browning.
- Let the butter soften at room temperature for smooth spreading.
- Taste the cheese before adding; adjust seasoning as needed.
Professional Secrets
- Room temperature butter ensures a uniform golden crust.
- Medium‑high heat creates that perfect crisp without burning.
- A quick press with the spatula releases trapped steam, keeping the cheese stretchy.

Recipe by
AmeliaAmelia is a seasoned food blogger and recipe creator at CookDishWorld, where she blends culinary expertise with an unwavering love for sharing delicio ...
Get Delicious Recipes Weekly
Join 25,000+ home cooks getting our best recipes straight to their inbox.
Free forever • No spam • Unsubscribe anytime