Why You'll Love It
- - Only five pantry staples needed
- - Minimal prep, maximum comfort
- - Warm, gooey texture that melts in your mouth
- - Perfect for spontaneous gatherings
*“I tried this cake last night—my family devoured every crumb!”*
Essential Ingredient Guide
- Oreo cookies: Choose classic chocolate Oreos; they provide the base crunch and chocolate flavor.
- Butter: Use unsalted butter, melted, to create a glossy crust.
- Sugar: Granulated sugar sweetens the batter and helps the top caramelize.
- Eggs: Eggs add richness and help bind the cake together.
- Vanilla pudding mix: Instant vanilla pudding brings a creamy sweetness without extra cooking.
- Milk: Whole milk adds body; use fresh, cold milk for best texture.
Complete Cooking Process
-
Ingredient Readiness:
Gather your Oreos, melt the butter, and measure out sugar and milk before you preheat the oven.
-
Flavor Development:
When the butter meets the cookies, the scent of chocolate fills the kitchen, deepening the flavor.
-
Texture Control:
Stirring the pudding mix just until smooth ensures a creamy interior without lumps.
-
Finishing Touches:
A quick sprinkle of extra crushed Oreos before serving adds a delightful crunch.
-
Serving Timing:
Serve the cake warm, straight from the oven, while the center is still oozy.
- Use room‑temperature butter for even spreading
- Don’t over‑mix the pudding; gentle folds keep it silky
- Allow the cake to rest 5 minutes after baking for the top to set
- Pair with a scoop of vanilla ice cream for extra indulgence
Pro Tips
Well, those little details make a world of difference. I remember once I over‑mixed the pudding and ended up with a gritty texture—oops! A gentle hand is all it takes. So, breathe, enjoy the process, and let the cake bring a quiet joy to your table.

The essence of the dish:
A fun fact or historical angle:
Flavor or sensory focus:
You Must Know
- Do not over‑bake; the center should stay soft
- Cool slightly before slicing for clean pieces
- Serve warm for the best texture
Frequently Asked Questions
→ Can I make this cake gluten‑free?
Yes—swap the classic Oreos for a certified gluten‑free chocolate cookie version.
→ How long does it stay fresh?
Store in an airtight container; it stays soft for up to three days at room temperature.
→ Can I add fruit?
A handful of fresh berries added after baking gives a bright contrast.
→ What if I don’t have pudding mix?
Use 1/2 cup heavy cream mixed with a pinch of vanilla and sugar as a substitute.
→ Is this suitable for kids?
Absolutely—just watch for any nut allergies; the ingredients are kid‑friendly.
→ Can I freeze leftovers?
Yes, wrap tightly and freeze for up to two months; reheat gently in the oven.
Chef's Tips
If you prefer extra crunch, sprinkle additional crushed Oreos on top before baking.,A dollop of whipped cream adds a light contrast.,For a deeper chocolate flavor, melt a few squares of dark chocolate into the butter before drizzling.
Nutrition Facts
per serving
380
Calories
5g
Protein
48g
Carbs
18g
Fat
Taste Profile
Rich chocolate sweetness with creamy undertones
Ingredient Substitutions
Don't have an ingredient? Try these alternatives
Margarine will keep the cake moist but may slightly change flavor.
Provides a caramel note; reduce by 1 tablespoon if desired.
Recipe Variations
Try these delicious twists on the original
Spicy Version
Add a pinch of cayenne pepper to the batter for a subtle heat.
Mediterranean Style
Stir in crumbled feta and toasted pine nuts after baking.
Common Mistakes to Avoid
Learn from others' mistakes for perfect results
- Over‑baking, which can dry out the soft center.
- Using cold butter – it won’t spread evenly.
- Skipping the rest period; the cake settles for better slices.
Meal Prep & Storage
Make Ahead Tips
You can melt the butter and crush the Oreos up to a day ahead; keep them separate and combine just before baking for optimal texture.
Leftover Ideas
Reheat gently in a skillet over low heat, covering with a lid to keep the center moist.
Perfect Pairings
Serve this with...
Cooking Timeline
Preheat oven and prepare baking dish; crush Oreos.
Melt butter and drizzle over Oreo layer.
Whisk together eggs, sugar, pudding mix, and milk.
Bake the cake until golden and set.
Cool slightly, slice, and serve warm.
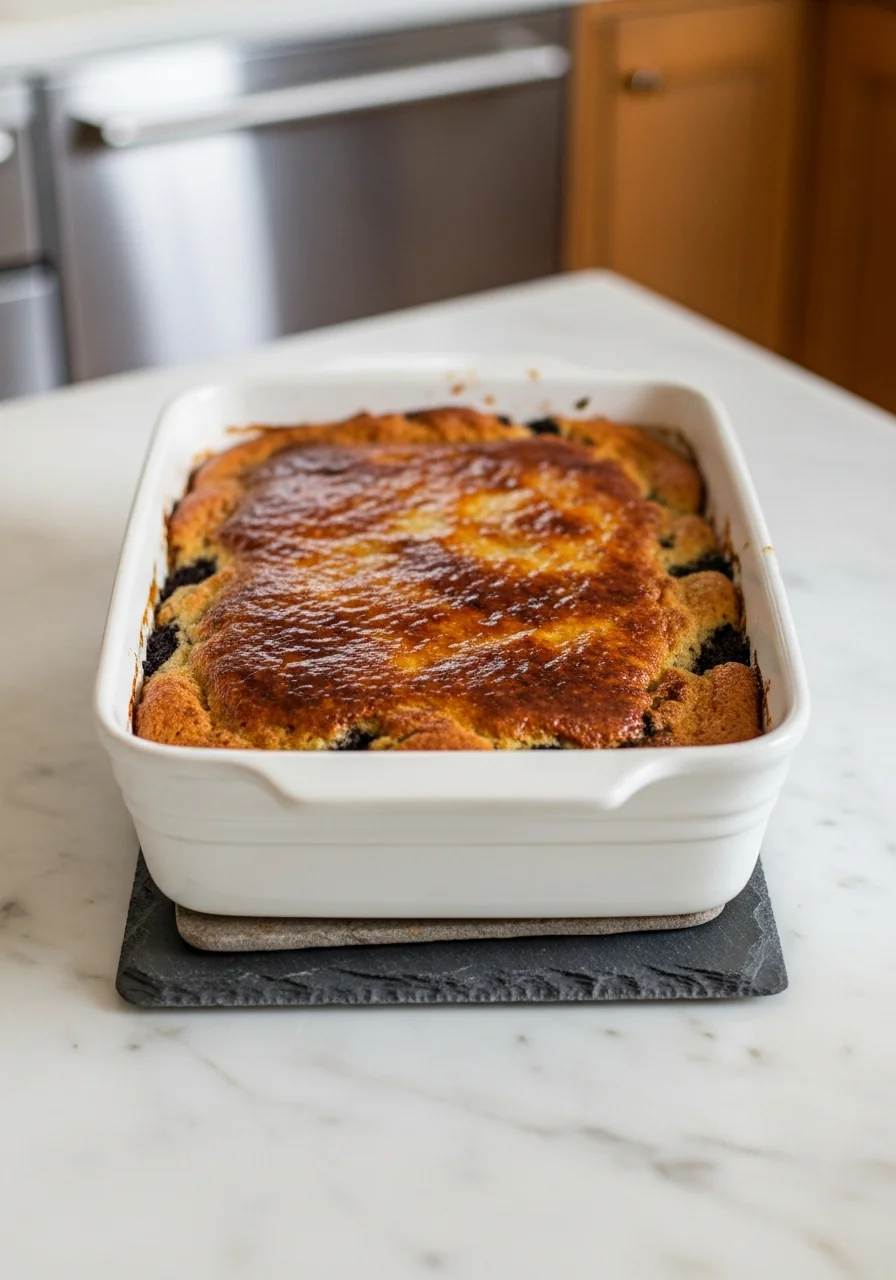
Oreo Dump Cake – Simple 5-Ingredient Dessert
A quick, gooey Oreo dump cake that comes together with five simple ingredients. Warm, chocolatey, and topped with a creamy vanilla glaze, it feels like a hug in a bowl—perfect for a crowd‑pleasing dessert any day of the week.
Timing
Prep Time
10 Minutes
Cook Time
30 Minutes
Total Time
40 Minutes
Recipe Details
Ingredients
Main Ingredients
- 01 24 Oreo cookies, crushed
- 02 1/2 cup unsalted butter, melted
- 03 1/4 cup granulated sugar
- 04 2 large eggs
- 05 1 package (3.4 oz) instant vanilla pudding mix
- 06 1 cup whole milk
Instructions
Preheat the oven to 350°F (175°C). Lightly grease a 9‑inch square baking dish.
Spread the crushed Oreos evenly across the bottom of the dish, then drizzle the melted butter over them, letting it soak in.
In a bowl, whisk together the sugar, eggs, pudding mix, and milk until smooth—no lumps.
Pour the pudding mixture over the Oreo layer, using a spatula to spread it gently.
Bake for 25‑30 minutes, until the top is golden and the center is just set. Let it rest 5 minutes before serving.
Notes & Tips
- 1 If you prefer extra crunch, sprinkle additional crushed Oreos on top before baking.
- 2 A dollop of whipped cream adds a light contrast.
- 3 For a deeper chocolate flavor, melt a few squares of dark chocolate into the butter before drizzling.
Tools You'll Need
-
9‑inch square baking dish
-
Mixing bowl
-
Whisk
-
Spatula
-
Measuring cups and spoons
-
Oven
Must-Know Tips
- Don't overcrowd the pan, cook in batches if needed for even browning.
- Let the cake rest briefly, allows the center to settle and flavors to meld.
- Taste as you go, adjust sugar if you like a sweeter profile.
Professional Secrets
- Room temperature butter spreads evenly, preventing soggy spots.
- High initial heat creates a crisp top while keeping the inside moist.
- A quick deglaze with a splash of milk captures any caramelized bits.

Recipe by
AmeliaAmelia is a seasoned food blogger and recipe creator at CookDishWorld, where she blends culinary expertise with an unwavering love for sharing delicio ...
Get Delicious Recipes Weekly
Join 25,000+ home cooks getting our best recipes straight to their inbox.
Free forever • No spam • Unsubscribe anytime