Why You'll Love It
- - Ready in under an hour, perfect for busy mornings
- - No yeast required, so no waiting
- - Gooey cheese pockets that melt in every bite
- - Golden crust with a tender interior
*"The cheese bread turned out so fluffy and cheesy, my kids begged for seconds!"*
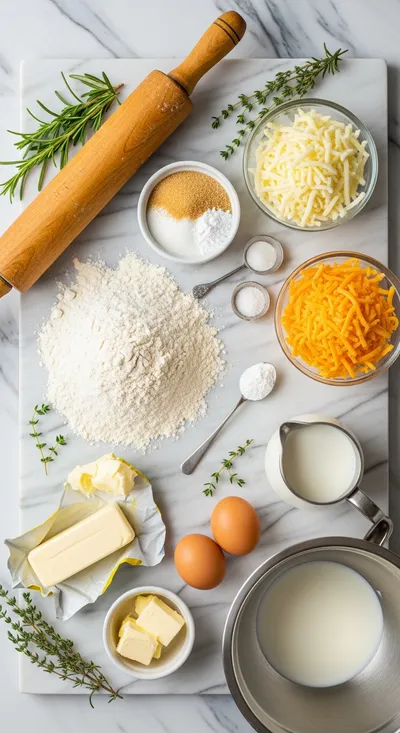
Essential Ingredient Guide
- All‑purpose flour: Provides the structure; sift to avoid lumps and ensure a light crumb
- Baking powder: The leavening hero that gives the bread its rise without yeast
- Sharp cheddar cheese: Adds depth and meltiness; grate finely for even distribution
- Milk: Creates moisture; use whole milk for a richer texture
- Butter: Melted butter adds flavor and a tender crumb
- Egg: Binds everything together and helps lift the batter
Complete Cooking Process
-
Ingredient Readiness:
Measure flour, baking powder, and salt; grate cheese; melt butter and let it cool slightly before mixing.
-
Flavor Development:
Combine dry ingredients first, then stir in wet ingredients gently to keep the batter airy.
-
Texture Control:
Fold in cheese just before the batter rests; this prevents over‑mixing and keeps the crumb soft.
-
Finishing Touches:
Brush the top with a little melted butter and sprinkle extra cheese for a golden crust.
-
Serving Timing:
Serve warm, straight from the oven, while the interior is still soft and the cheese is lingering.
- Use room‑temperature milk for a smoother batter
- Avoid over‑mixing; a few lumps are fine
- Let the bread rest for 5 minutes after baking to finish setting
Pro Tips
Well, these tiny adjustments make a big difference. When the batter rests just a moment, the gluten relaxes and the crumb becomes wonderfully tender. I’ve learned that a quick cool under the oven light keeps the crust from over‑browning, letting the cheese stay gooey inside. So, take a breath, enjoy the aroma, and slice into that golden loaf.
The essence of the dish:
A fun fact or historical angle:
Flavor or sensory focus:
You Must Know
- Do not over‑mix the batter
- Use sharp cheese for the best melt
- Watch the crust in the last minutes
Frequently Asked Questions
→ Can I use a different cheese?
Absolutely—try mozzarella for stretch or gruyère for a nutty note. Adjust the amount to keep the balance.
→ Do I need to grease the pan?
A light coating of butter or oil prevents sticking and adds extra flavor to the crust.
→ How do I store leftovers?
Wrap tightly in foil and keep at room temperature for up to two days, or freeze for longer storage.
→ Can I add herbs?
Yes, a teaspoon of dried thyme or chives blends beautifully with the cheese.
→ Is this gluten‑free?
Swap the all‑purpose flour for a gluten‑free blend, keeping the same ratio.
→ What’s the ideal serving temperature?
Warm—right after a brief rest—makes the cheese extra melty and the crumb soft.
Chef's Tips
If the top browns too quickly, cover loosely with foil halfway through baking.,For extra fluffiness, sift the flour before measuring.,You can double the recipe and bake in a larger pan; just add a few more minutes to the cooking time.
Nutrition Facts
per serving
320
Calories
12g
Protein
32g
Carbs
14g
Fat
Taste Profile
Savory with a rich cheesy finish
Ingredient Substitutions
Don't have an ingredient? Try these alternatives
Adjust quantity if using milder cheese to keep flavor balanced.
Use a 1:1 swap; expect a denser crumb.
Recipe Variations
Try these delicious twists on the original
Spicy Version
Add 1 tsp crushed red pepper flakes and a dash of hot sauce to the batter.
Mediterranean Style
Fold in crumbled feta, chopped olives, and sun‑dried tomatoes for a breezy twist.
Common Mistakes to Avoid
Learn from others' mistakes for perfect results
- Over‑mixing the batter, leading to a dense crumb.
- Opening the oven too early, causing the loaf to collapse.
- Using cold butter, which can create pockets of grease.
Meal Prep & Storage
Make Ahead Tips
You can whisk the dry ingredients together and store them in an airtight jar for up to a week.
Leftover Ideas
Reheat gently in a skillet over low heat, covered, to restore softness.
Perfect Pairings
Serve this with...
Cooking Timeline
Gather and measure all ingredients; preheat oven.
Mix dry ingredients, then combine wet ingredients separately.
Combine wet and dry mixtures, fold in cheese gently.
Pour batter into pan, bake, and monitor crust color.
Rest bread, then slice and serve warm.
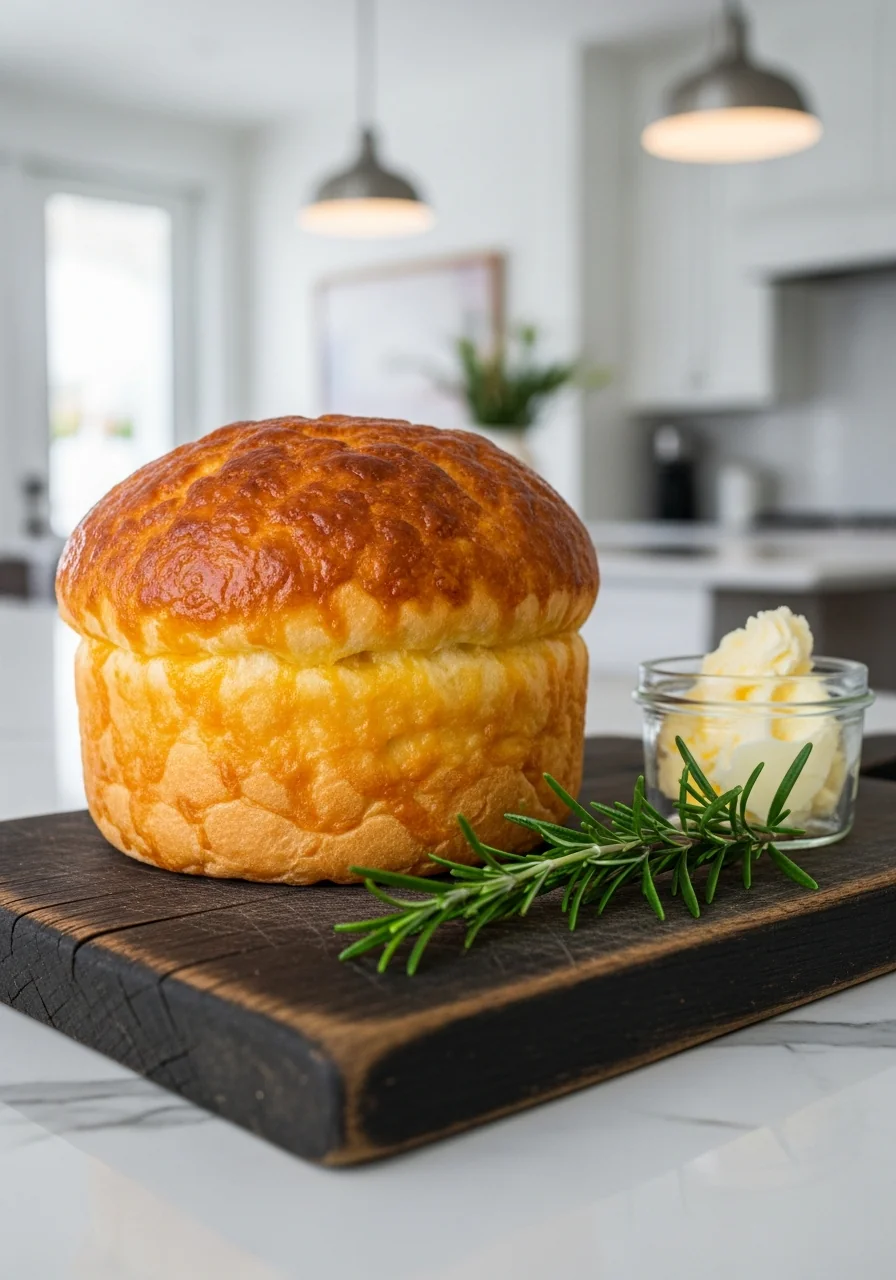
Cheese Bread – Easy Cheesy Quick Bread
Discover a fast, fluffy cheese bread perfect for breakfast or a snack—simple ingredients, gooey cheese, and a golden crust.
Timing
Prep Time
15 Minutes
Cook Time
25 Minutes
Total Time
40 Minutes
Recipe Details
Ingredients
Main Ingredients
- 01 2 cups all‑purpose flour
- 02 2 tsp baking powder
- 03 1/2 tsp salt
- 04 1 cup grated sharp cheddar cheese
- 05 3/4 cup milk
- 06 1/4 cup melted butter
- 07 1 large egg
Instructions
Preheat the oven to 375°F (190°C) and lightly butter a 9‑inch loaf pan.
In a large bowl whisk together flour, baking powder, and salt; set aside.
In another bowl combine milk, melted butter, and the egg; whisk until smooth.
Pour the wet mixture into the dry ingredients, stirring just until combined; fold in the grated cheddar gently.
Transfer the batter to the prepared pan, smooth the top, brush with a little extra butter, and sprinkle a handful of cheese on top.
Bake for 25‑30 minutes, until the top is golden and a toothpick inserted near the center comes out clean. Let rest 5 minutes before slicing.
Notes & Tips
- 1 If the top browns too quickly, cover loosely with foil halfway through baking.
- 2 For extra fluffiness, sift the flour before measuring.
- 3 You can double the recipe and bake in a larger pan; just add a few more minutes to the cooking time.
Tools You'll Need
-
9‑inch loaf pan
-
Mixing bowls
-
Wire whisk
-
Rubber spatula
-
Oven thermometer
-
Cooling rack
Must-Know Tips
- Don't over‑mix the batter, it can make the bread tough.
- Allow the bread to rest briefly after baking for optimal texture.
- Taste the batter and adjust salt if necessary before baking.
Professional Secrets
- Room temperature milk ensures even rising.
- Melted butter added to the batter creates a richer crumb.
- A quick butter brush on the crust yields a glossy finish.

Recipe by
AmeliaAmelia is a seasoned food blogger and recipe creator at CookDishWorld, where she blends culinary expertise with an unwavering love for sharing delicio ...
Get Delicious Recipes Weekly
Join 25,000+ home cooks getting our best recipes straight to their inbox.
Free forever • No spam • Unsubscribe anytime