Mastering macOS Window Management for Ultimate Productivity
Transform your cluttered Mac desktop into a streamlined workspace using built-in macOS tools and hidden power-user shortcuts.
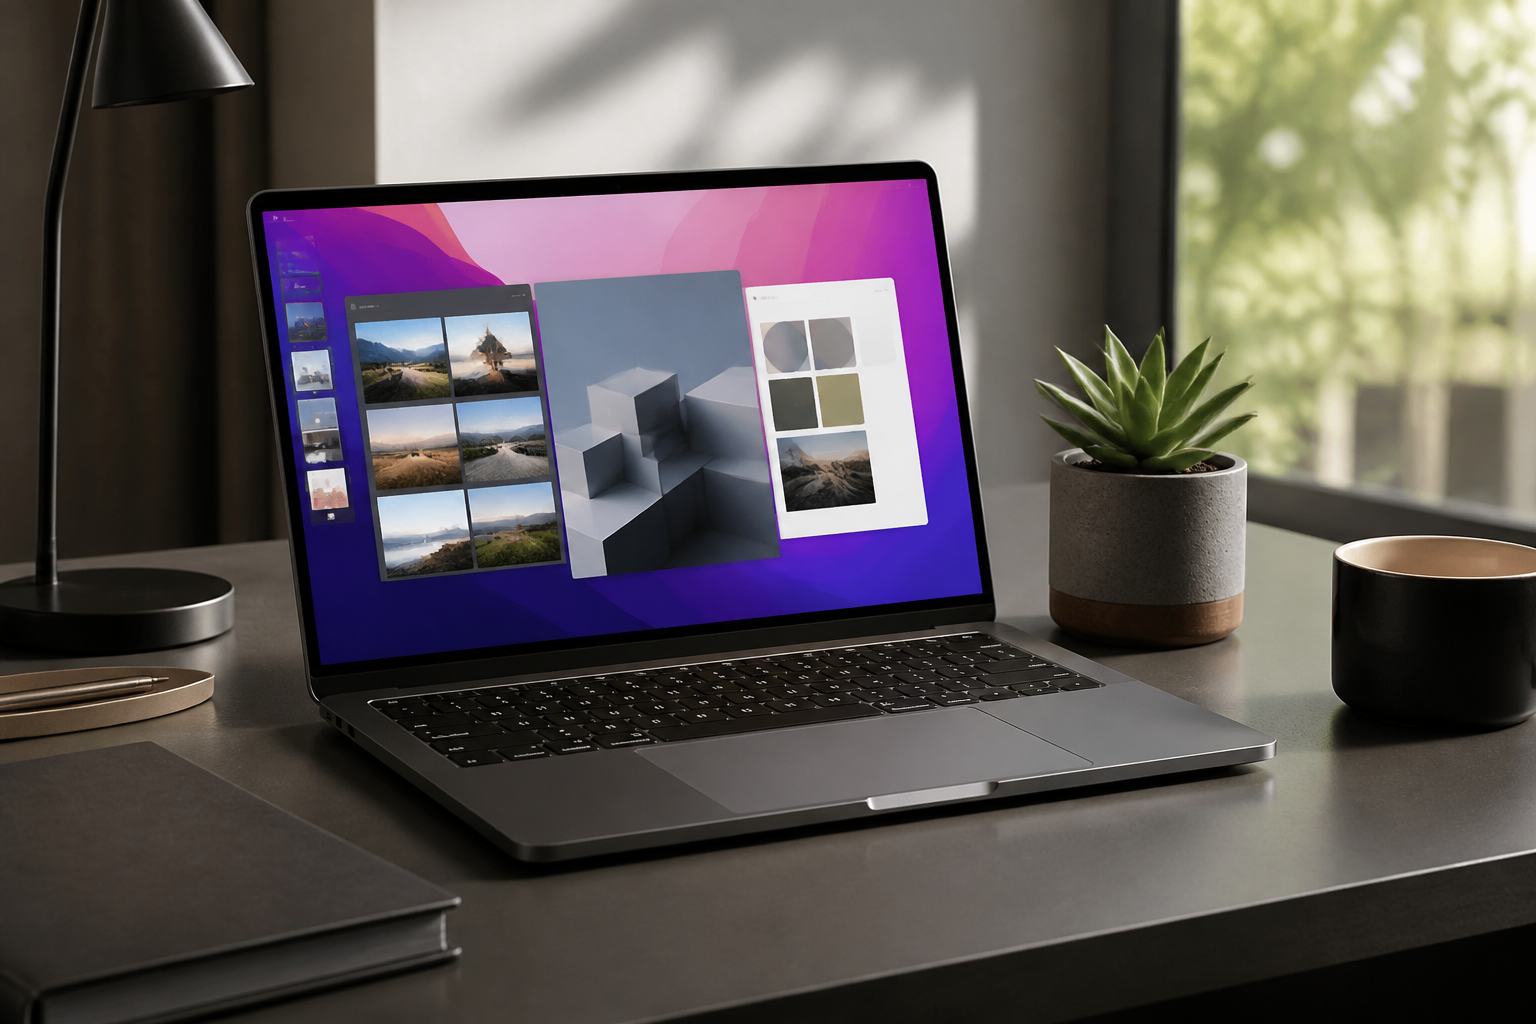
The modern digital workflow often feels like a constant battle against window clutter. Between Slack notifications, dozens of browser tabs, and various terminal windows, our focus is frequently fragmented by the sheer overstimulation of a disorganized desktop. For macOS users, the solution isn't necessarily a larger monitor, but rather mastering the sophisticated window management tools built directly into the operating system.
In this guide, we will move beyond simple clicking and dragging. We will explore how to leverage Stage Manager for context-switching, utilize Split View for deep work, and memorize the essential keyboard shortcuts that keep your hands on the keys and your mind on the task. Whether you are a developer, a writer, or a project manager, these techniques will fundamentally change how you interact with your Mac.
The Philosophy of the Clean Desktop
Before diving into the technical 'how-to,' it is vital to understand the psychological impact of digital clutter. A workspace filled with overlapping windows forces the brain to expend energy filtering out irrelevant visual information. This cognitive load reduces your ability to focus on the primary task at hand. Effective window management is about reducing this friction.
Your Mac offers three distinct tiers of organization: the casual 'Desktop' view for light tasks, 'Stage Manager' for active project switching, and 'Full Screen/Split View' for dedicated deep work. Recognizing which mode suits your current task is the first step toward a superior workflow.
Leveraging Stage Manager for Contextual Focus
Introduced in macOS Ventura, Stage Manager changed the paradigm of how we view multitasking. Instead of minimizing apps to the Dock, Stage Manager organizes your open windows into groups on the left side of your screen. This allows you to create 'workspaces' based on intent rather than just application type.
- To enable Stage Manager, open Control Center in your menu bar and click the Stage Manager icon.
- Group apps by dragging a thumbnail from the left strip onto your current center window.
- Shift-click windows to bring them into the current 'stage' without replacing what is already there.
- Hide the left-hand strip by moving your window closer to the edge to maximize screen real estate.
The true power of Stage Manager lies in its ability to remember groups. For example, you can have a 'Research' group containing Safari and Notes, and a 'Coding' group containing VS Code and Terminal. Switching between them takes a single click, and macOS preserves the layout of each group perfectly.
Mastering Split View and Spaces
When you need to compare two documents or write while referencing a source, Split View is indispensable. It removes the distractions of the Menu Bar and Dock, forcing you to focus entirely on two windows. To activate it, hover your mouse over the green full-screen button in the top-left corner of any window and select 'Tile Window to Left of Screen.'
True productivity isn't about doing more things at once; it's about doing one thing with zero interruptions.
Complement Split View with Mission Control 'Spaces.' By using three-finger swipes on your trackpad, you can move between different virtual desktops. I recommend dedicated Spaces for your email client and calendar, separate from your main work area, to prevent the 'inbox reflex' from interrupting your flow.
The Power User's Shortcut Toolkit
To truly master macOS window management, you must move away from the mouse. Keyboard shortcuts are the fastest way to manipulate your environment without breaking your concentration. While macOS doesn't have a native 'snap to edge' shortcut like Windows by default, its built-in commands are powerful.
- Command + Tab: Quickly cycle through active applications.
- Command + ` (Tilde): Cycle through windows of the *same* application.
- Control + Up Arrow: Open Mission Control to see all active windows.
- Control + Right/Left Arrow: Switch between full-screen apps and Spaces.
- Command + Mission Control: Instantly clear the screen to show your desktop.
If you find yourself needing more granular control, such as snapping a window to exactly one-quarter of the screen, you can use the Terminal to modify certain hidden preferences or look into third-party utilities that expand these native capabilities. For most, however, the native 'Tile' options in the Window menu are sufficient for a crisp layout.
Using macOS Shortcuts for Automation
For developers and power users, the 'Shortcuts' app can automate window positioning. You can create a simple script that opens your email, browser, and IDE and tiles them exactly where you want them with a single command.
# While macOS doesn't use bash for window resizing, you can trigger 'Shortcuts' via CLI:
shortcuts run "Morning Setup"
Customizing the Dock and Finder for Speed
Finally, don't overlook your Dock. A cluttered Dock leads to a cluttered mind. You should only keep apps in the Dock that you use daily. For everything else, use Spotlight (Command + Space). Turn on 'Minimize windows into application icon' in System Settings to keep your Dock from expanding horizontally across the screen every time you hide a window.
Expert insights
- Context switching is the enemy of deep work. By grouping related apps in Stage Manager, you create a physical barrier that helps maintain mental focus on a single project at a time.
- The most efficient Mac users rarely use the Dock to launch apps; they rely on Spotlight or Raycast for launching and use Mission Control for navigation to stay in the flow state.
Statistics & data
- University research suggests it takes an average of 23 minutes to return to a deep state of focus after a significant distraction.
- Users who utilize keyboard shortcuts over mouse-driven navigation can save up to 64 hours of productivity time annually.
Key takeaways
- Use Stage Manager to group applications by project rather than by app type.
- Master keyboard shortcuts like Cmd+Tab and Ctrl+Arrows to navigate without a mouse.
- Leverage Split View to eliminate background distractions during deep work sessions.
- Minimize Dock clutter by only keeping 'daily driver' apps pinned and using Spotlight for the rest.
Frequently asked questions
How do I disable Stage Manager if I don't like it?
You can quickly toggle it off in the Control Center (icon in the top right menu bar) or disable it permanently in System Settings > Desktop & Dock.
Can I use Split View with two separate monitors?
Yes, Split View works independently on each display. Ensure 'Displays have separate Spaces' is checked in System Settings > Desktop & Dock.
Is there a native way to 'snap' windows on Mac like Windows 11?
In macOS Sonoma and later, you can hover over the green button for snap layouts. For older versions, you must drag to the screen edge or use the Window menu.
External references
Keep learning with StackForge
New, expert-reviewed tutorials are published regularly. Explore more guides in Gadgets & How-To Guides to deepen your skills.
More Gadgets & How-To Guides guides →
Written & reviewed by
Justin Schmella
Senior Industry Researcher & Content Specialist
Justin Schmella is a senior software engineer and technical educator with more than eight years of hands-on experience shipping production systems across web, cloud, and developer tooling. He began his career as a full-stack developer at a fast-growing SaaS company, where he led the migration of a monolithic application to a modern, service-oriented architecture used by hundreds of thousands of users.
Related tutorials
Mastering the macOS Terminal: A Guide to Boosting Productivity
Unlock the true power of your Mac by mastering the command line for faster workflows and advanced system control.
Mastering macOS Window Management: From Stage Manager to Shortcuts
A deep dive into organizing your Mac workspace for better focus and faster multitasking using built-in Apple tools.
Build a Local Backup Server with an Old Laptop and Ubuntu
Give your aging laptop a second life by converting it into a dedicated, low-power home backup server with Ubuntu and automated sync tools.