Mastering macOS Window Management: From Stage Manager to Shortcuts
A deep dive into organizing your Mac workspace for better focus and faster multitasking using built-in Apple tools.
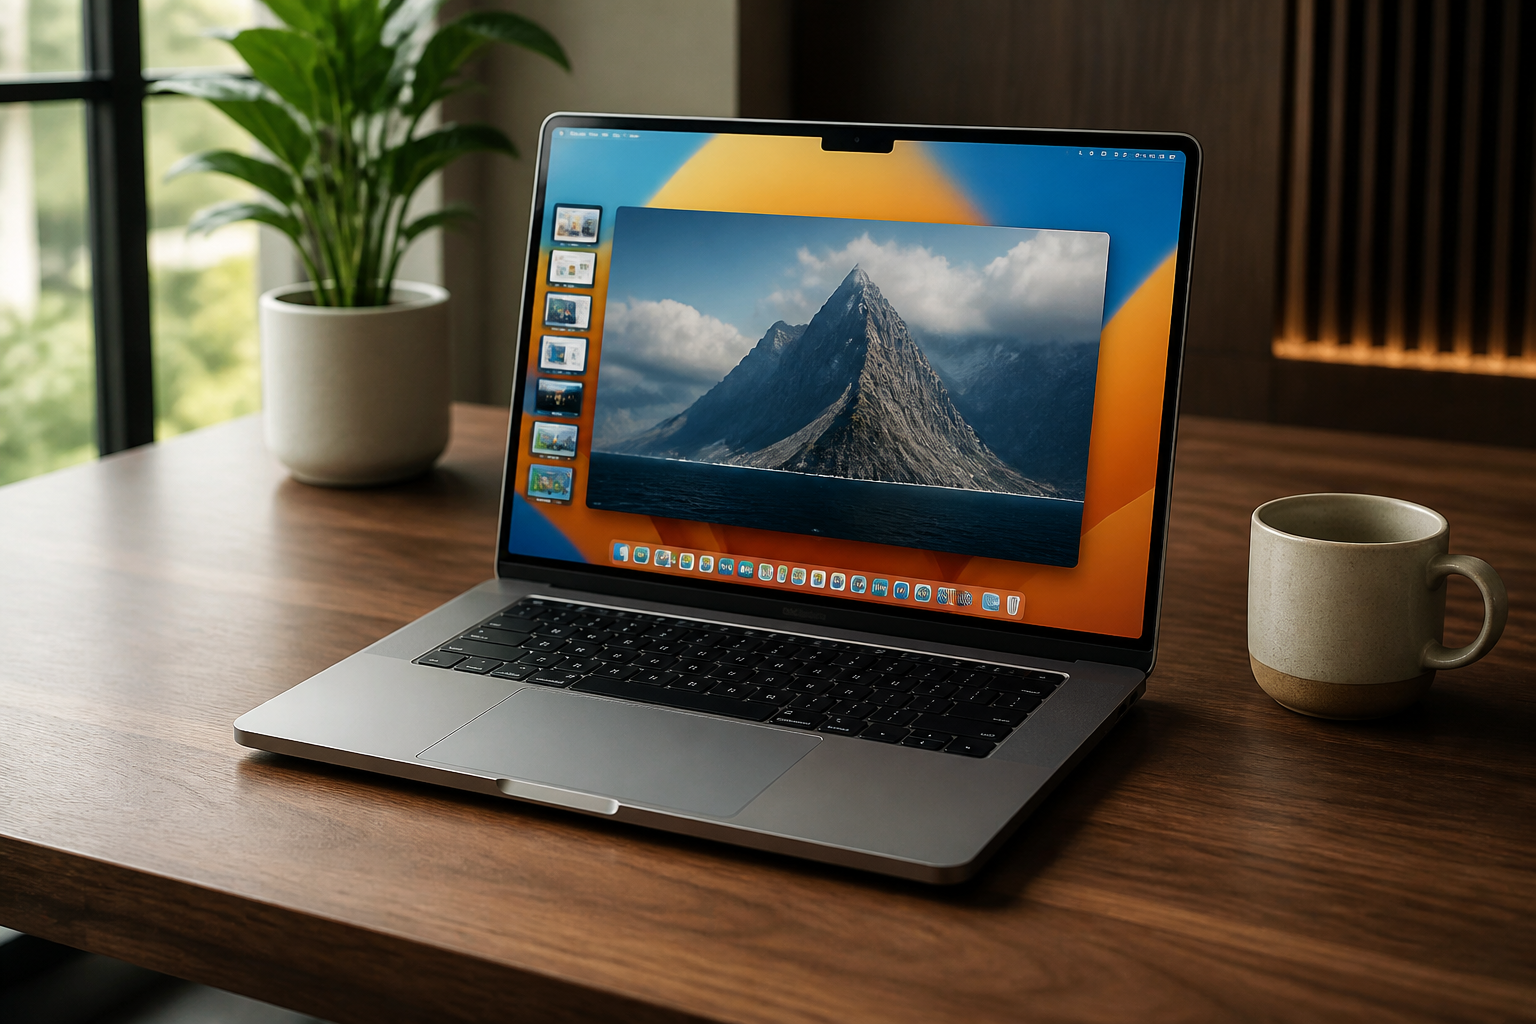
Modern operating systems are capable of running dozens of applications simultaneously, but having too many windows open often leads to a cluttered 'digital junk drawer' that kills productivity. While macOS has historically relied on a free-form windowing system, Apple has recently introduced more structured ways to manage your screen real estate. Whether you are a minimalist who wants one app at a time or a power user juggling creative suites and terminal windows, mastering these tools is essential.
In this guide, we will explore the evolution of window management on the Mac. We will move beyond simply clicking the yellow minimize button and dive into the mechanics of Stage Manager, the efficiency of Mission Control, and the hidden keyboard shortcuts that can save you hours of mousing time every week. By the end of this tutorial, you will have a customized workflow that keeps your most important tasks front and center.
The Modern Workspace: Understanding Stage Manager
Introduced in macOS Ventura, Stage Manager represents a fundamental shift in how Apple thinks about multitasking. Instead of a stack of overlapping windows, Stage Manager organizes your active apps into a single 'stage' in the center and a 'cast' of thumbnails along the left side. This is particularly useful for users on smaller screens, such as the 13-inch MacBook Air, where horizontal space is at a premium.
To enable Stage Manager, open your Control Center in the top-right corner of the menu bar and click the Stage Manager icon. Once active, clicking an app icon in the strip on the left will swap it with the current central window. If you want to group apps—for instance, keeping a browser window and a notes app together—simply drag a window from the left strip onto the center of the screen.
- Show/Hide Recent Apps: Go to System Settings > Desktop & Dock to toggle whether the side strip is always visible.
- Desktop Items: You can choose to hide desktop icons when Stage Manager is active for a truly distraction-free environment.
- Click Wallpaper to Reveal Desktop: A quick way to find files and move them into your active workspace.
Mission Control and Spaces: The Power User's Secret
Before Stage Manager, there was Mission Control. It remains the most powerful way to see the 'big picture' of everything running on your machine. By swiping up with four fingers on your trackpad or pressing the F3 key, you can see every open window spread out across the screen. At the top of this view, you'll find 'Spaces'—Apple's version of virtual desktops.
Spaces allow you to create distinct environments for different types of work. You might have one Space for communication (email and Slack), another for your primary project (Photoshop or VS Code), and a third for personal tasks. Switching between them is as easy as a three-finger lateral swipe. This prevents the mental friction of constantly resizing windows to find what you need.
Organizing by context is more effective than organizing by app. Group your tools based on the project they serve, not the developer who made them.
Essential Shortcuts for Swift Navigation
If you want to move at the speed of thought, you have to keep your hands on the keyboard. While macOS doesn't have a native 'window snapping' feature as robust as Windows 11 yet (without using the green zoom button hover menu), it does offer several built-in commands that every user should memorize.
- Command + Tab: Quickly toggle between your most recently used applications.
- Command + ` (Tilde): Cycle through windows within the same application (e.g., between different Chrome windows).
- Control + Arrow Keys: Move between your different Spaces/Virtual Desktops.
- Command + Mission Control (F3): Instantly hide all windows to show the desktop.
Customizing Window Tiling
Since macOS Sonoma and Sequoia, Apple has improved the 'Tile Window' feature. If you hover over the green button in the top-left corner of any window, a menu appears allowing you to snap that window to the left or right half of the screen. This is the fastest way to set up a side-by-side comparison without using third-party software.
Automating Your Setup with AppleScript
For the ultimate productivity setup, you can use the Shortcuts app or AppleScript to launch a specific set of apps and position them exactly where you want. This is helpful for 'Mode' switching—like a 'Deep Work' mode that opens your code editor and documentation side-by-side while closing Slack.
tell application "System Events"
    set frontmost of process "Safari" to true
    set position of window 1 of process "Safari" to {0, 22}
    set size of window 1 of process "Safari" to {960, 1050}
end tell
The script above is a basic example of how you can force a window to occupy the left half of a standard 1080p display at the press of a button. While modern apps like 'Rectangle' or 'Moom' offer a GUI for this, knowing the underlying logic allows for deeper system integration.
Expert insights
- For users with ultra-wide monitors, Stage Manager is often less effective than using standard Spaces. The lateral 'strip' takes up unnecessary room; instead, use Mission Control to manage large-scale layouts.
- Always disable 'Automatically rearrange Spaces based on most recent use' in System Settings if you want to build muscle memory for where your apps live.
Statistics & data
- Context switching can result in a loss of up to 40% of a worker's productive time due to the 'attention residue' left by the previous task.
- Studies suggest that organized digital workspaces can reduce visual cortisol levels and improve creative problem-solving by 15%.
Key takeaways
- Use Stage Manager for focused, single-app tasks on smaller screens.
- Leverage Mission Control and Spaces to separate your work life from personal browsing.
- Master Command + Tab and Command + Tilde to navigate open apps without a mouse.
- Hover over the green window button for quick 'Split View' or 'Tile' options.
Frequently asked questions
How can I snap windows to the corners like in Windows?
While macOS doesn't do this natively with drag-and-drop, you can hover over the green full-screen button and select 'Move to Left/Right Side', or use third-party apps like Rectangle for corner snapping.
Does Stage Manager drain more battery?
The impact is negligible. Stage Manager is a UI layer and doesn't require significantly more GPU or CPU resources than standard window rendering.
Can I use Stage Manager and Spaces at the same time?
Yes! Stage Manager can be active on any space. Each Space will maintain its own set of 'recent app' strips on the left side.
External references
Keep learning with StackForge
New, expert-reviewed tutorials are published regularly. Explore more guides in Gadgets & How-To Guides to deepen your skills.
More Gadgets & How-To Guides guides →
Written & reviewed by
Justin Schmella
Senior Industry Researcher & Content Specialist
Justin Schmella is a senior software engineer and technical educator with more than eight years of hands-on experience shipping production systems across web, cloud, and developer tooling. He began his career as a full-stack developer at a fast-growing SaaS company, where he led the migration of a monolithic application to a modern, service-oriented architecture used by hundreds of thousands of users.
Related tutorials

Mastering the macOS Terminal: A Guide to Boosting Productivity
Unlock the true power of your Mac by mastering the command line for faster workflows and advanced system control.
Mastering macOS Window Management for Ultimate Productivity
Transform your cluttered Mac desktop into a streamlined workspace using built-in macOS tools and hidden power-user shortcuts.
Build a Local Backup Server with an Old Laptop and Ubuntu
Give your aging laptop a second life by converting it into a dedicated, low-power home backup server with Ubuntu and automated sync tools.