Build a Bulletproof Personal Cloud: A Synology NAS Setup Guide
Take control of your digital life by building a high-performance private cloud that replaces expensive monthly subscription services.
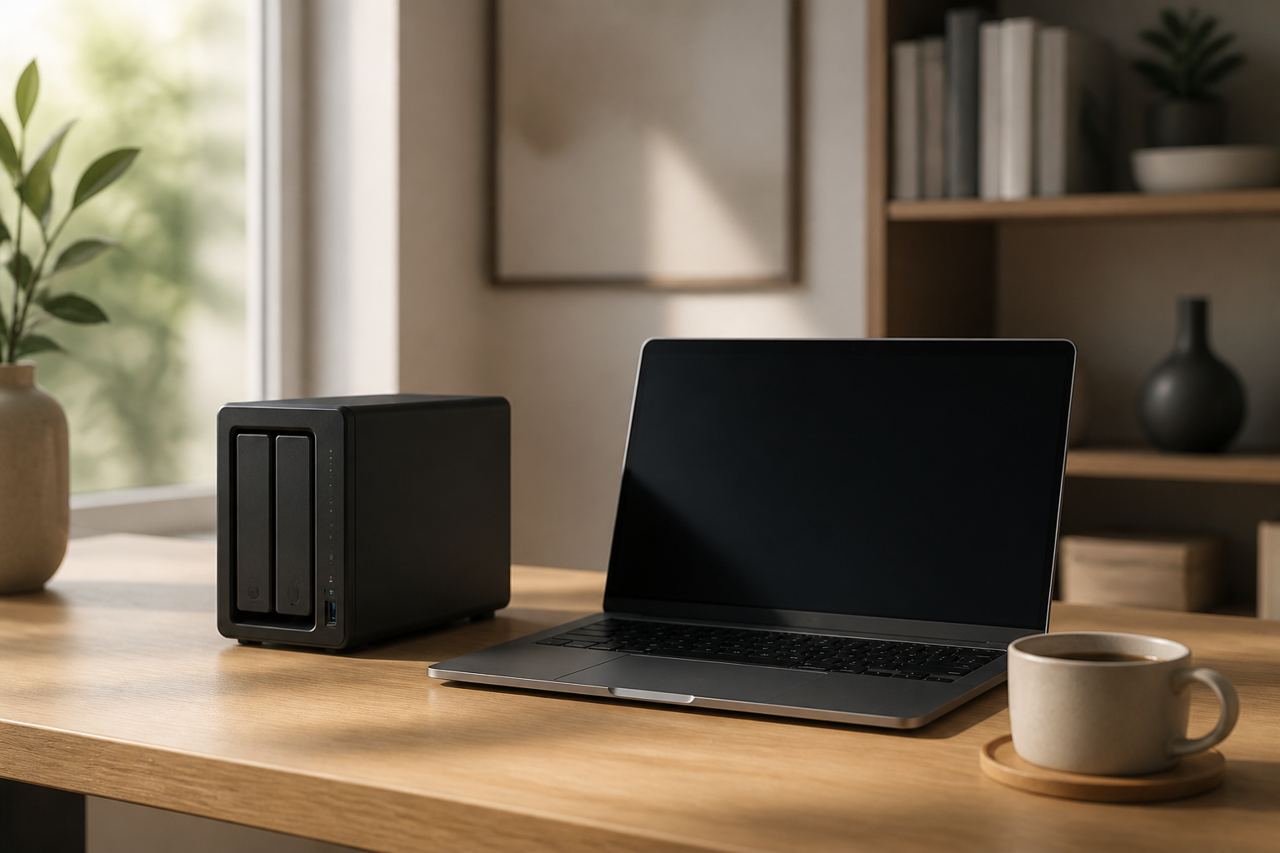
In an era where every gigabyte of cloud storage seems to come with a recurring monthly fee, the appeal of 'owning' your data has never been higher. A Network Attached Storage (NAS) device is no longer just a bulky box for IT professionals; it has evolved into a sleek, powerful hub that centralizes your files, automates your backups, and enables seamless collaboration across all your devices. By moving your workflow to a Synology NAS, you gain the privacy of local storage with the convenience of Google Drive or Dropbox.
This guide will walk you through the essential steps of setting up a Synology NAS for maximum productivity. We will move beyond the basic plug-and-play installation to focus on configuring Synology Drive for cross-device syncing, setting up a robust RAID configuration for data safety, and ensuring your remote access is both fast and secure. Whether you are a creative professional handling large video files or a remote worker looking to streamline your document management, this setup will provide the foundational infrastructure you need.
Choosing the Right Hardware and Drive Configuration
Before you even power on the device, the physical configuration dictates your long-term performance. For most home offices, a 2-bay or 4-bay unit is the sweet spot. When selecting drives, always opt for NAS-optimized hard drives like Western Digital Red or Seagate IronWolf. These drives are engineered to withstand the heat and vibration of 24/7 operation, unlike standard desktop drives that may fail prematurely in a RAID environment.
For data protection, Synology Hybrid RAID (SHR) is the recommended choice for beginners and pros alike. SHR allows for drive redundancy, meaning if one drive fails, your data remains intact. It is more flexible than traditional RAID, allowing you to mix and match drive sizes if you decide to upgrade later. To calculate your actual usable space, remember that in a two-drive mirroring setup, your total capacity will be equal to the size of the smallest single drive.
Initial DSM Installation and Security Hardening
Once your drives are seated and the unit is connected to your router, navigate to find.synology.com to begin the DiskStation Manager (DSM) installation. DSM is an intuitive, browser-based operating system that feels remarkably like a desktop environment. However, the default settings are often tuned for ease of use rather than maximum security. To protect your data from external threats, you must harden the system immediately after the initial reboot.
- Disable the default 'admin' account and create a unique username with a strong password.
- Enable 2-Step Verification (2FA) for all user accounts via the Personal settings menu.
- Change the default management ports (5000/5001) to custom numbers to avoid automated bot attacks.
- Enable the Auto-Block feature under Control Panel > Security to blacklist IP addresses with too many failed login attempts.
Configuring Synology Drive for Cross-Device Productivity
The crown jewel of the Synology ecosystem for productivity is Synology Drive. It functions exactly like Dropbox, providing a synchronized folder on your Mac or PC that mirrors data to the NAS. The advantage here is the 'On-demand Sync' feature, which allows you to see all your files in File Explorer or Finder without them taking up space on your local SSD until you actually open them.
To set this up, install the Synology Drive Server package from the DSM Package Center. Then, download the client application for your computer. When configuring the sync task, ensure you enable 'Version Control.' This allows you to right-click any file and restore a previous version from hours or days ago—an absolute lifesaver if you accidentally overwrite a critical document or suffer a ransomware attack.
The true power of a NAS isn't just storing files; it's the peace of mind that comes from knowing every version of your work is silently backed up every time you hit save.
Optimizing Remote Access with QuickConnect and DDNS
Accessing your files while at a coffee shop or traveling is essential. Synology offers 'QuickConnect,' a relay service that bypasses complex router port-forwarding rules. While QuickConnect is incredibly easy to set up, users looking for the highest possible transfer speeds should consider using a DDNS (Dynamic Domain Name Service) and setting up a VPN server directly on the NAS.
By using the built-in VPN Server package, you can create an encrypted tunnel into your home network. This is more secure than opening multiple ports for different services. If you are comfortable with the command line via SSH, you can even check your connection status or basic system health using simple terminal commands.
ssh username@your-nas-ip-address
# Check system uptime and load average
uptime
# List active network connections
netstat -tupln
Automating the 3-2-1 Backup Strategy
A NAS is a great central repository, but it is not a backup by itself—if your house floods or a power surge fries the unit, your RAID won't save you. You need to follow the 3-2-1 rule: 3 copies of your data, on 2 different media types, with 1 copy offsite. Synology makes this easy with the 'Hyper Backup' package.
We recommend scheduling a weekly encrypted backup of your most important NAS folders to a cloud provider like Backblaze B2 or Synology C2. This ensures that even in the case of a total hardware loss, your career's work is recoverable in minutes. You can also hook up an external USB drive to the back of the NAS for a fast, local secondary backup that runs every night.
Expert insights
- Always enable Btrfs as your file system during volume creation; it provides self-healing properties that detect and repair silent data corruption.
- If you plan on running Plex or Docker containers, upgrade the RAM in your NAS immediately—most base models ship with the bare minimum.
Statistics & data
- According to industry data, NAS-optimized drives have a failure rate significantly lower than 2% in the first three years of 24/7 operation.
- Implementing version control can reduce data loss incidents by up to 70% for remote creative teams.
Key takeaways
- Use Synology Hybrid RAID (SHR) for the best balance of data protection and storage flexibility.
- Prioritize security by disabling the default admin account and enforcing 2FA.
- Install Synology Drive to get a private, subscription-free alternative to mainstream cloud storage.
- Always follow the 3-2-1 backup rule by using Hyper Backup for offsite redundancy.
Frequently asked questions
Can I use standard desktop hard drives in my Synology NAS?
While you technically can, it is not recommended. Desktop drives are not designed for the vibrations of multi-bay enclosures or 24/7 uptime, increasing the risk of RAID failure.
Do I need a static IP address from my ISP for remote access?
No. Synology's QuickConnect or their free DDNS service (e.g., yourname.synology.me) will track your IP changes automatically.
How much RAM do I really need?
For simple file storage, 2GB is plenty. If you want to use the NAS for 4K video streaming or running multiple apps, 8GB or more is recommended.
External references
Keep learning with StackForge
New, expert-reviewed tutorials are published regularly. Explore more guides in Gadgets & How-To Guides to deepen your skills.
More Gadgets & How-To Guides guides →
Written & reviewed by
Justin Schmella
Senior Industry Researcher & Content Specialist
Justin Schmella is a senior software engineer and technical educator with more than eight years of hands-on experience shipping production systems across web, cloud, and developer tooling. He began his career as a full-stack developer at a fast-growing SaaS company, where he led the migration of a monolithic application to a modern, service-oriented architecture used by hundreds of thousands of users.
Related tutorials
Mastering the macOS Terminal: A Guide to Boosting Productivity
Unlock the true power of your Mac by mastering the command line for faster workflows and advanced system control.
Mastering macOS Window Management: From Stage Manager to Shortcuts
A deep dive into organizing your Mac workspace for better focus and faster multitasking using built-in Apple tools.
Mastering macOS Window Management for Ultimate Productivity
Transform your cluttered Mac desktop into a streamlined workspace using built-in macOS tools and hidden power-user shortcuts.