Mastering macOS Window Management: A Guide to Stage Manager and Shortcuts
Boost your focus by mastering Apple's native window management tools, from Stage Manager to hidden keyboard shortcuts.
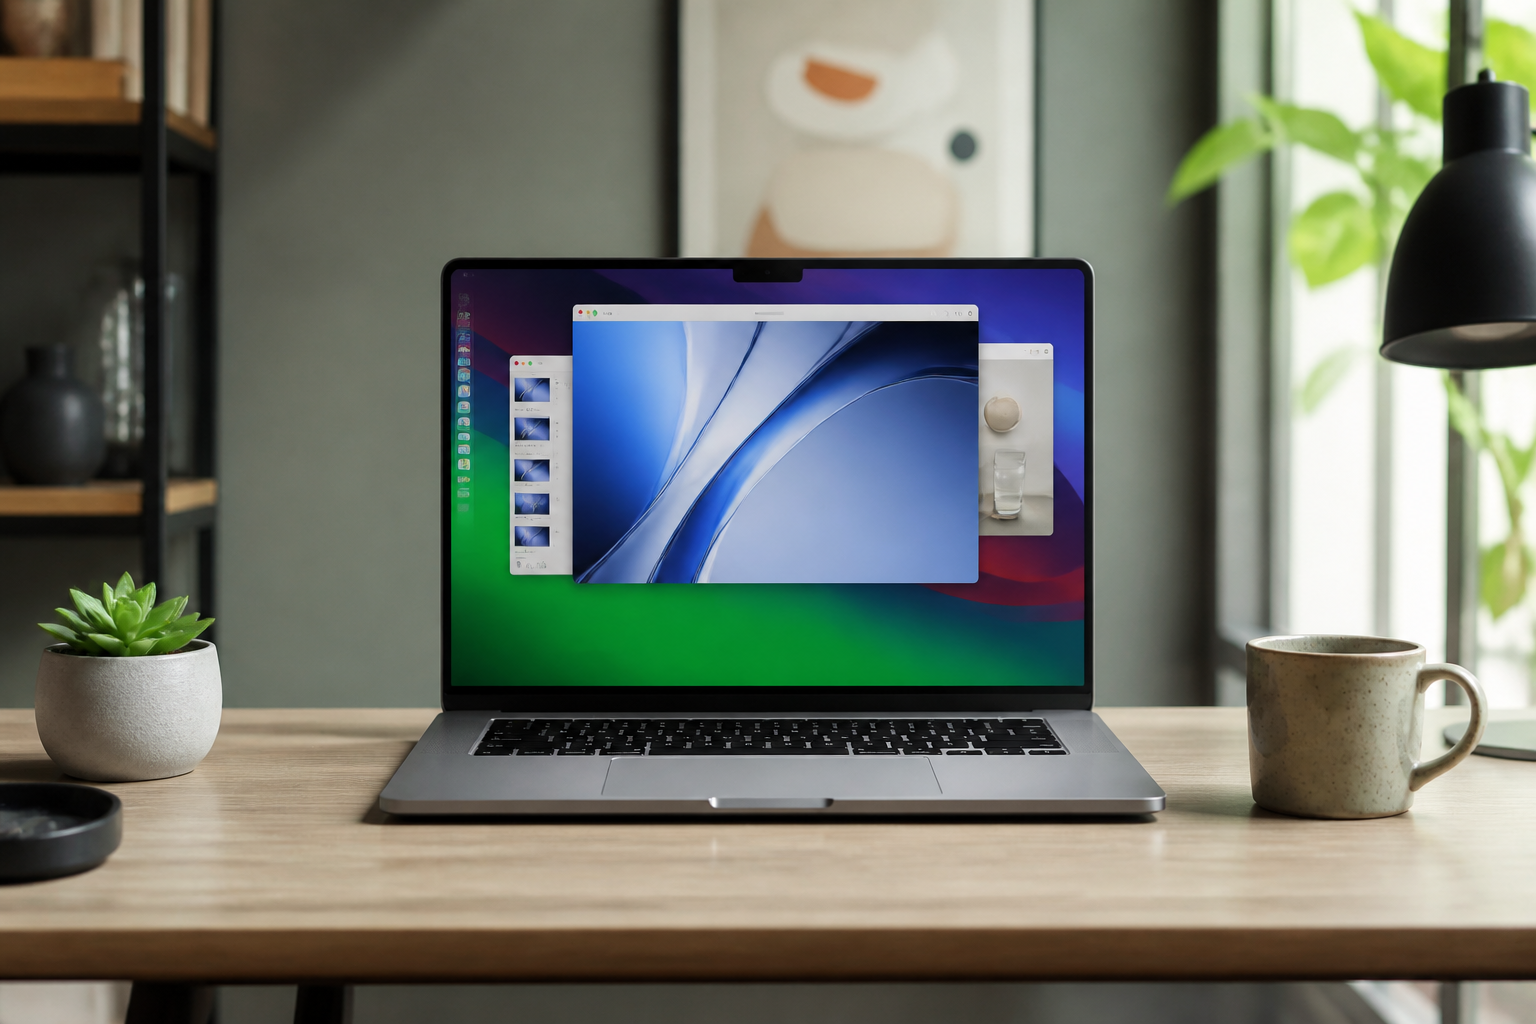
Digital clutter is the silent killer of productivity. For many Mac users, a typical workday involves a chaotic dance of overlapping windows, hidden browser tabs, and a frantic search for that one spreadsheet buried under a dozen applications. While macOS has always offered tools like Mission Control and CMD+Tab, the sheer volume of modern work requires a more sophisticated approach to spatial organization.
In this guide, we dive deep into the latest macOS window management features, with a primary focus on Stage Manager and native shortcuts. By the end of this tutorial, you will move away from a cluttered desktop toward a curated, task-oriented environment that shifts with your workflow, allowing you to maintain deep focus on one project at a time without losing track of your peripheral tools.
Embracing Stage Manager for Task Switching
Introduced in macOS Ventura, Stage Manager represents a fundamental shift in how Apple treats multitasking. Instead of a desktop filled with stacks, Stage Manager keeps your current app front and center while tucking other active apps into a visual strip on the left side of your screen. This creates a focused lane for your primary task while keeping secondary apps just one click away.
To enable Stage Manager, open your Control Center in the top right of the menu bar and click the Stage Manager icon. Once active, you'll notice your windows organize themselves. But the real power lies in grouping. You can drag an app icon from the left strip onto your main window to create a workspace group. For example, you might group Slack and Spark Mail together for a 'Communication' stage, while keeping VS Code and Terminal in a separate 'Development' stage.
- Hide recent apps: If the left-hand strip is too distracting, you can hide it by going to System Settings > Desktop & Dock > Stage Manager > Customize.
- Toggle with one click: Use the Control Center to quickly jump in and out of the mode depending on your current needs.
- Desktop items: You can choose to show or hide desktop files while Stage Manager is on, further reducing visual noise.
Mastering Split View and Window Snapping
While Stage Manager is great for focus, sometimes you specifically need two windows side-by-side—perhaps a reference document and a writing app. Apple’s Split View is the native solution for this without needing third-party utilities. By hovering over the green full-screen button in the top left of any window, you can choose to 'Tile Window to Left of Screen' or 'Tile Window to Right of Screen'.
Once tiled, the OS enters a dedicated workspace where you can slide the divider to adjust the ratio of the two windows. This is particularly useful on smaller MacBook screens where every pixel of real estate counts. To exit, simply press the Escape key or click the green button again.
Visual clutter leads to cognitive overload. Every open window is a micro-distraction vying for your brain's processing power.
The Power User's Keyboard Shortcut Toolkit
To truly master macOS window management, your hands should rarely leave the keyboard. While many users know Command + Tab, few utilize the full breadth of navigation shortcuts available natively. These shortcuts allow for rapid movement between windows of the same app or jumping between different virtual Desktops (Spaces).
- Command + ` (Tilde): Switch between open windows of the currently active application.
- Control + Up Arrow: Open Mission Control to see an overview of every open window.
- Control + Right/Left Arrow: Quickly cycle through your full-screen apps and virtual desktops.
- Command + M: Minimize the active window to the dock (though hiding is often better).
- Command + H: Hide the current application entirely to clear the view.
Automating Window Layouts with AppleScript
For the ultimate productivity setup, you can use a simple AppleScript to snap windows to specific coordinates. This is useful for morning routines where you want your mail, calendar, and task manager to sit in the exact same spot every time you boot up.
tell application "Safari"
    set bounds of front window to {0, 25, 960, 1050}
end tell
tell application "Notes"
    set bounds of front window to {961, 25, 1920, 1050}
    activate
end tell
Optimizing Virtual Desktops (Spaces)
Spaces allow you to create entirely separate environments for different parts of your life. You might have one Space for 'Work' containing your professional browser and Slack, another for 'Personal' with your music and photos, and a third for 'Entertainment'. This mental compartmentalization is vital for work-life balance when working from home.
To create a new Space, enter Mission Control (F3) and click the '+' icon in the top right. You can assign specific apps to specific Spaces by right-clicking the app icon in the Dock, selecting 'Options', and choosing 'This Desktop'. This ensures that even if you close and reopen an app, it always returns to its designated home.
Third-Party Enhancements for Advanced Users
While macOS's native tools have improved significantly, power users might still find them slightly limiting compared to Windows 11's 'Snap Layouts'. If you find yourself wanting more complex grids, consider lightweight utilities that complement the macOS experience. These tools often allow for keyboard-driven snapping to halves, thirds, and quarters.
However, before reaching for third-party software, ensure you have fully explored the shortcuts and Stage Manager capabilities mentioned above. Often, a combination of Stage Manager for workflow switching and Mission Control for navigation is enough to satisfy even the most demanding multitasking needs.
Expert insights
- Always disable 'Automatically rearrange Spaces based on most recent use' in Settings; it ruins your muscle memory for where specific apps live.
- Use the 'Hot Corners' feature to trigger Mission Control by simply flicking your mouse to a corner of the screen—it's faster than any keyboard shortcut.
Statistics & data
- Studies on workplace productivity suggest that switching between unrelated tasks can cause a 40% drop in overall efficiency due to context switching costs.
- The average knowledge worker spends nearly 20% of their digital time simply searching for information or navigating between open applications.
Key takeaways
- Stage Manager is best used for grouping related apps into 'phases' of work.
- Mission Control (F3) provides the essential 'bird's eye view' for lost windows.
- Leveraging 'Spaces' helps separate professional and personal digital environments.
- Keyboard shortcuts like Command + Tilde are essential for intra-app navigation.
Frequently asked questions
Does Stage Manager drain more battery on MacBooks?
The impact is negligible. Stage Manager is a UI layer and does not significantly increase CPU or GPU load compared to standard window rendering.
How do I stop windows from overlapping in Stage Manager?
Stage Manager is designed to show one 'set' at a time. If you want them side-by-side, drag windows into the same group. To keep them separate, open them individually from the left strip.
Can I use Split View with three windows?
Natively, macOS Split View only supports two windows. For three or more, you must arrange them manually or use a third-party window manager like Rectangle or Magnet.
External references
Keep learning with StackForge
New, expert-reviewed tutorials are published regularly. Explore more guides in Gadgets & How-To Guides to deepen your skills.
More Gadgets & How-To Guides guides →
Written & reviewed by
Justin Schmella
Senior Industry Researcher & Content Specialist
Justin Schmella is a senior software engineer and technical educator with more than eight years of hands-on experience shipping production systems across web, cloud, and developer tooling. He began his career as a full-stack developer at a fast-growing SaaS company, where he led the migration of a monolithic application to a modern, service-oriented architecture used by hundreds of thousands of users.
Related tutorials
Mastering the macOS Terminal: A Guide to Boosting Productivity
Unlock the true power of your Mac by mastering the command line for faster workflows and advanced system control.
Mastering macOS Window Management: From Stage Manager to Shortcuts
A deep dive into organizing your Mac workspace for better focus and faster multitasking using built-in Apple tools.
Mastering macOS Window Management for Ultimate Productivity
Transform your cluttered Mac desktop into a streamlined workspace using built-in macOS tools and hidden power-user shortcuts.