Mastering macOS Window Management: The Ultimate Productivity Setup
Transform your cluttered Mac desktop into a streamlined workstation using built-in Apple features and professional third-party window management utilities.
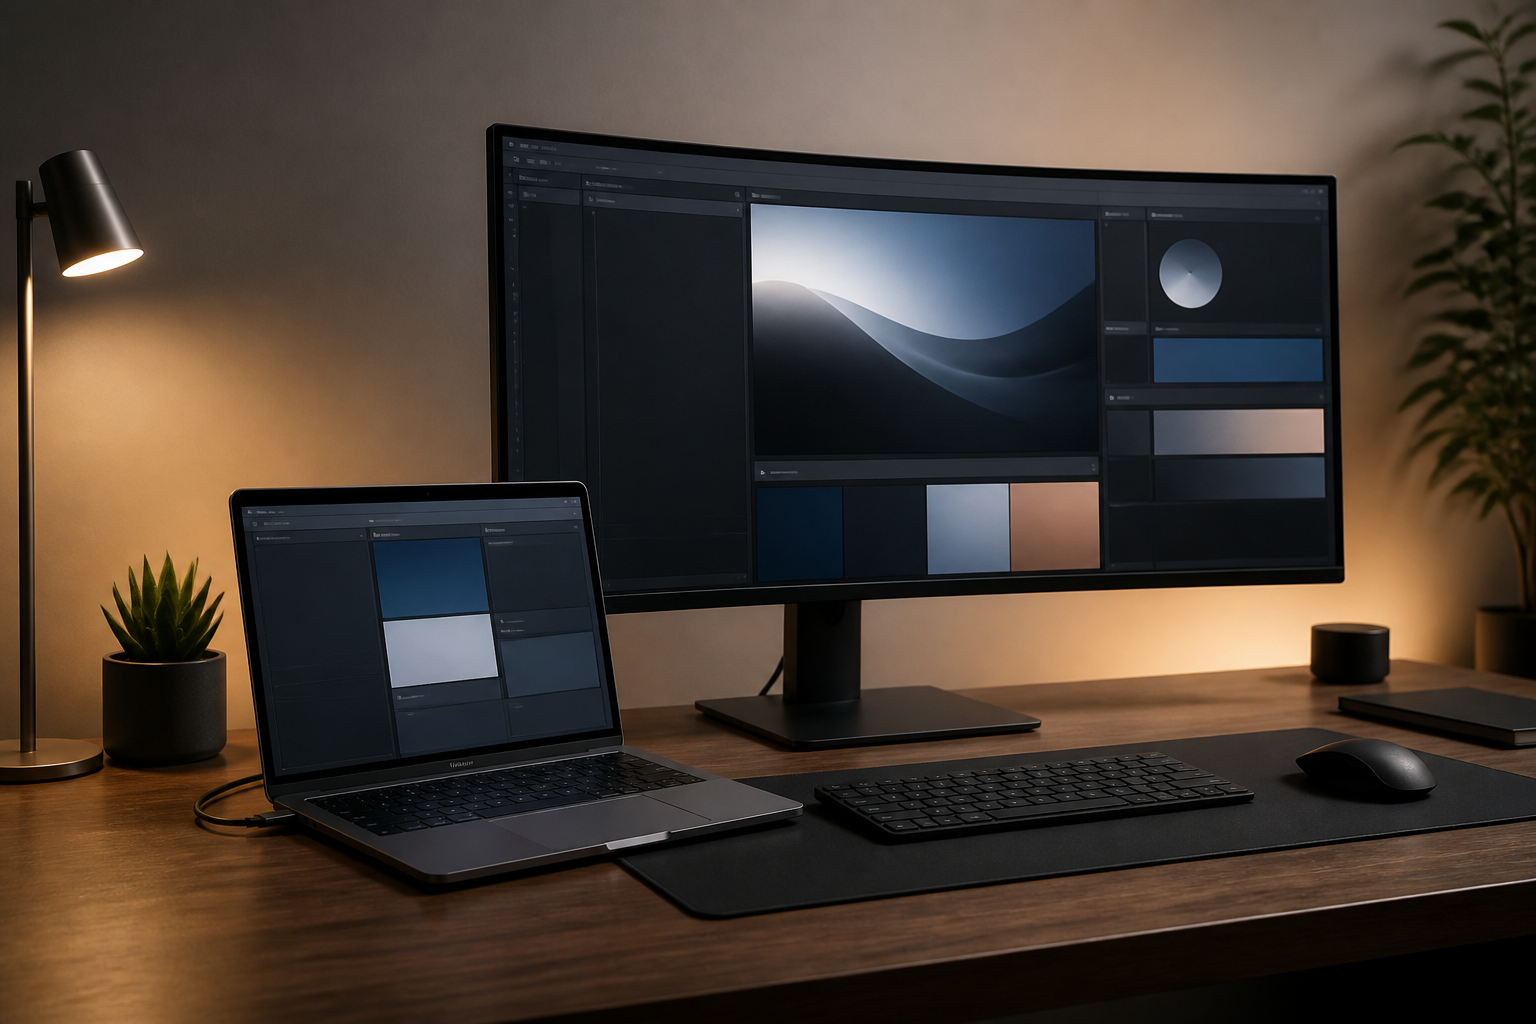
Out of the box, macOS is a beautiful operating system, but its approach to window management has historically been polarizing. While Windows users have long enjoyed robust 'snapping' features, Mac users often find themselves buried under a mountain of overlapping windows. If you have ever spent more than ten seconds hunting for a buried Finder window or a specific Slack thread, your current setup is likely costing you mental energy and billable hours.
The secret to a high-performance Mac setup isn't just about having the fastest silicon; it is about how you architect your screen real estate. This guide will walk you through the evolution of macOS multitasking, from mastering the nuances of Stage Manager to implementing advanced tiling workflows that feel like a superpower. Whether you are using a single 13-inch Air or a dual-monitor Pro setup, these strategies will help you reclaim your focus.
The Foundations: Split View and Mission Control
Before diving into third-party tools, it is essential to master the native gestures that Apple provides. Mission Control is the 'bird's eye view' of your system. Triggered by a four-finger swipe up on the trackpad, it allows you to see every open window. Combined with Spaces (virtual desktops), you can separate your work into distinct contexts—for instance, keeping creative tools on one desktop and communication apps on another.
Split View is the native way to place two apps side-by-side. To activate it, hover over the green full-screen button in the top-left corner of any window. You’ll see options to 'Tile Window to Left of Screen' or 'Tile Window to Right of Screen.' This is perfect for referencing a document while writing or keeping a video call open alongside your notes. However, native Split View has its limitations: it forces apps into a full-screen environment, hiding the dock and menu bar.
Mastering Stage Manager for Contextual Focus
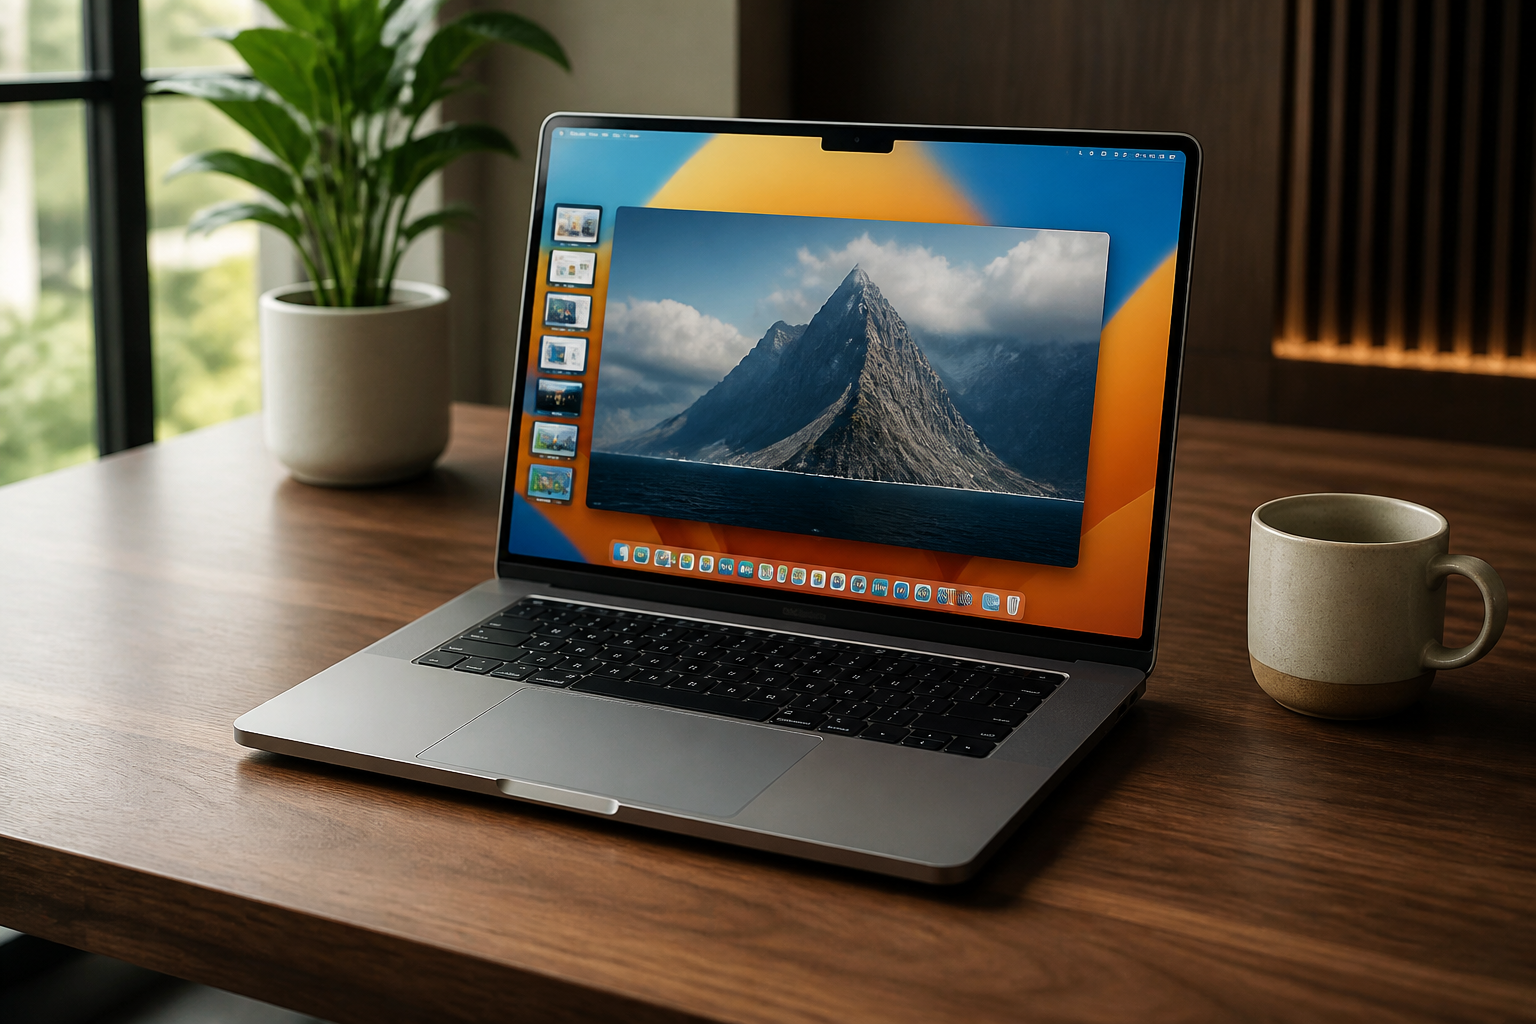
Introduced in macOS Ventura, Stage Manager represents a paradigm shift in how Apple thinks about multitasking. Instead of focusing on every open app, Stage Manager keeps your current app front and center while tucking other active apps into a visual strip on the left side of your screen.
- Group related apps: You can drag windows from the side strip onto the center stage to create app sets (e.g., Photoshop and Lightroom together).
- One-click switching: Clicking an icon in the strip instantly swaps your current workspace for the new group.
- Minimize distractions: Enable ‘Hide Desktop Items’ in Settings to remove file clutter while Stage Manager is active.
Stage Manager is particularly effective for users who struggle with 'tab fatigue.' By grouping windows by project rather than by application, you create a physical boundary for your brain to stay within a specific task's context.
Keyboard-First Workflows with Raycast and Rectangle
For power users, reaching for the mouse to drag a window is a micro-interruption. This is where third-party utilities become indispensable. Rectangle is an open-source tool that brings Windows-style snapping to macOS, allowing you to move windows to halves, quarters, or thirds using simple keyboard shortcuts.
If you want to go a step further, Raycast is an extensible launcher that can replace Spotlight. It includes a built-in window management command system. Instead of dragging, you simply type 'Left Half' or 'Maximize' to snap windows instantly. Here is a conceptual example of how a developer might script a workspace layout using a CLI or automation tool:
# Example: Using a CLI tool like 'yabai' to automate layout
yabai -m window --grid 4:4:1:1:2:2
# This snaps the current window to a specific grid coordinate
Optimizing Dual-Monitor and Ultra-Wide Setups
When you have a massive amount of horizontal space, traditional full-screen modes become counterproductive. On an ultra-wide monitor, a single centered browser window is often the most ergonomic choice. Use a tool like 'Magnet' or 'BetterDisplay' to define custom snap zones that don't span the entire width of the screen.
In the 'Displays' section of System Settings, ensure your 'Spaces' are configured correctly for multiple monitors. Unchecking 'Displays have separate Spaces' allows a single window to span across two monitors, which is useful for video editing timelines, though most users prefer keeping the setting enabled for better window isolation.
Building a Sustainable Habit
Technology is only half the battle; the other half is discipline. At the end of every workday, use the 'Option + Command + W' shortcut to close all open windows in your current app. Start every morning with a 'blank slate' and only open what is required for your first task. By combining this habit with the tools mentioned above, you reduce the cognitive load of navigating your own computer.
Ultimately, the best window management setup is the one that disappears. It should feel like an extension of your thought process, moving windows as quickly as you move between ideas. Experiment with these tools for one week, and you will likely find it impossible to go back to the default 'scattered' desktop approach.
Expert insights
- Effective multitasking isn't about doing two things at once; it's about reducing the 'switch cost' between related tasks through spatial consistency.
- A keyboard-driven interface for window management can save a professional user up to 15 minutes of cumulative 'fiddling time' per day.
Statistics & data
- According to productivity studies, it takes an average of 23 minutes to return to deep focus after a significant digital distraction.
- Users with dual-monitor setups report an average estimated productivity increase of 20% to 50% for data-heavy tasks.
Key takeaways
- Leverage Mission Control and Spaces to separate work contexts visually.
- Use Stage Manager to group apps by project rather than by application type.
- Install a snapping utility like Rectangle to enable fast, keyboard-based layout management.
- Maintain 'digital hygiene' by closing unnecessary windows at the end of every session.
Frequently asked questions
Does Stage Manager drain more battery on MacBooks?
The impact is negligible. Stage Manager is a system-level UI feature and does not significantly increase CPU or GPU load compared to standard window rendering.
Is there a way to get Windows-style 'Snap Assist' on Mac?
Yes, third-party apps like Rectangle, Magnet, and BetterTouchTool provide the exact 'drag-to-edge' snapping functionality found in Windows 10 and 11.
How do I stop windows from moving when I restart my Mac?
In System Settings > General > Transfer or Reset, ensure 'Close windows when quitting an app' is toggled off, and enable 'Reopen windows when logging back in' during shutdown.
External references
Keep learning with StackForge
New, expert-reviewed tutorials are published regularly. Explore more guides in Gadgets & How-To Guides to deepen your skills.
More Gadgets & How-To Guides guides →
Written & reviewed by
Justin Schmella
Senior Industry Researcher & Content Specialist
Justin Schmella is a senior software engineer and technical educator with more than eight years of hands-on experience shipping production systems across web, cloud, and developer tooling. He began his career as a full-stack developer at a fast-growing SaaS company, where he led the migration of a monolithic application to a modern, service-oriented architecture used by hundreds of thousands of users.
Related tutorials
Mastering the macOS Terminal: A Guide to Boosting Productivity
Unlock the true power of your Mac by mastering the command line for faster workflows and advanced system control.
Mastering macOS Window Management: From Stage Manager to Shortcuts
A deep dive into organizing your Mac workspace for better focus and faster multitasking using built-in Apple tools.
Mastering macOS Window Management for Ultimate Productivity
Transform your cluttered Mac desktop into a streamlined workspace using built-in macOS tools and hidden power-user shortcuts.